.png)
 By
By  03:42
03:42

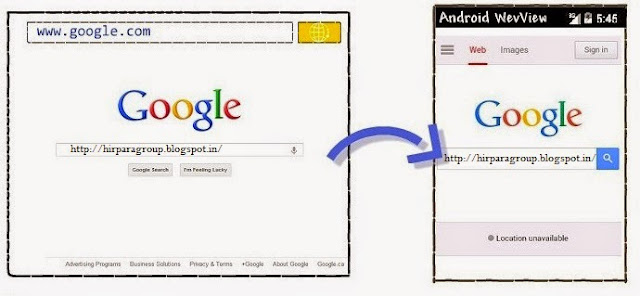
on the off chance that you need to convey a web application (or only a website page) as a piece of a customer application, you can do it utilizing WebView. The WebView class is an expansion of Android's View class that enables you to show site pages as a piece of your action format. It does exclude any elements of a completely created web program, for example, route controls or an address bar. All that WebViewdoes, of course, is demonstrate a website page.
A typical situation in which utilizing WebView is useful is the point at which you need to give data in your application that you may need to refresh, for example, an end-client understanding or a client control. Inside your Android application, you can make and Activitythat contains a WebView, then utilize that to show your report that is facilitated on the web.
Another situation in which WebView can help is if your application gives information to the client that dependably requires an Internet association with recover information, for example, email. For this situation, you may find that it's less demanding to assemble a WebView in your Android application that demonstrates a page with all the client information, instead of playing out a system ask for, then parsing the information and rendering it in an Android format. Rather, you can outline a website page that is custom-made for Android gadgets and after that actualize a WebView in your Android application that heaps the site page.
This report demonstrates to you proper methodologies to begin with WebView and how to do some extra things, for example, handle page route and tie JavaScript from your page to customer side code in your Android application.
Adding a WebView to Your Application
To add a
WebView to your Application, simply include the <WebView> element in your activity layout.For example, here's a layout file in which the
WebView fills the screen:<?xml version="1.0" encoding="utf-8"?> <WebView xmlns:android="http://schemas.android.com/apk/res/android" android:id="@+id/webview" android:layout_width="fill_parent" android:layout_height="fill_parent" />To load a web page in the
WebView, use loadUrl(). For example:WebView myWebView = (WebView) findViewById(R.id.webview); myWebView.loadUrl("http://www.example.com");Before this will work, however, your application must have access to the Internet. To get Internet access, request the
INTERNET permission in your manifest file. For example:<manifest ... > <uses-permission android:name="android.permission.INTERNET" /> ...</manifest>
Using JavaScript in WebView
If the web page you plan to load in your
WebView use JavaScript, you must enable JavaScript for your WebView. Once JavaScript is enabled, you can also create interfaces between your application code and your JavaScript code.Enabling JavaScript
JavaScript is disabled in aWebView by default. You can enable it through the WebSettings attached to your WebView. You can retrieve WebSettings with getSettings(), then enable JavaScript with setJavaScriptEnabled().For example:
WebView myWebView = (WebView) findViewById(R.id.webview);
WebSettings webSettings = myWebView.getSettings();
webSettings.setJavaScriptEnabled(true);
WebSettings provides access to a variety of other settings that you might find useful. For example, if you're developing a web application that's designed specifically for the WebView in your Android application, then you can define a custom user agent string with setUserAgentString(), then query the custom user agent in your web page to verify that the client requesting your web page is actually your Android application.


0 Kommentare